This guide is being performed on Ubuntu 18.04 set up according to the guide at – Setting up an Nginx web server on Ubuntu 16.04/18.04 with MariaDB and PHP 7.2
and being installed on a site in the custom site block set up during the article at – Create a custom site block for Nginx
WordPress is one of the most popular and versitile CMS on the market today. You can make anything from a blog, to an online store, a forum, social network or almost anything you want with the right plugins and/or know how. This site is built using WordPress, and the knowledge base is made using the Knowledgebase for Documents and FAQ’s plugin, which is available for free on the WordPress plugin repository.
If you are hosting on a linux server and have command line access with root or a sudo user, you can install the latest version of WordPress quickly and easily and be ready to make your site in minutes.
1. Navigate to your site directory and wget the latest WordPress.
For the sake of this tutorial, I am still using the site block mentioned in the link at the top of this article and the same domain as in previous articles.
cd /sites/wpsitedesign.com.au/www
wget -c http://wordpress.org/latest.tar.gz
tar -xzvf latest.tar.gz
Move the contents of the extracted directory to the sites home directory and get rid of the wordpress/ folder and tar file.
mv wordpress/* ./
rm -r wordpress/
rm latest.tar.gz
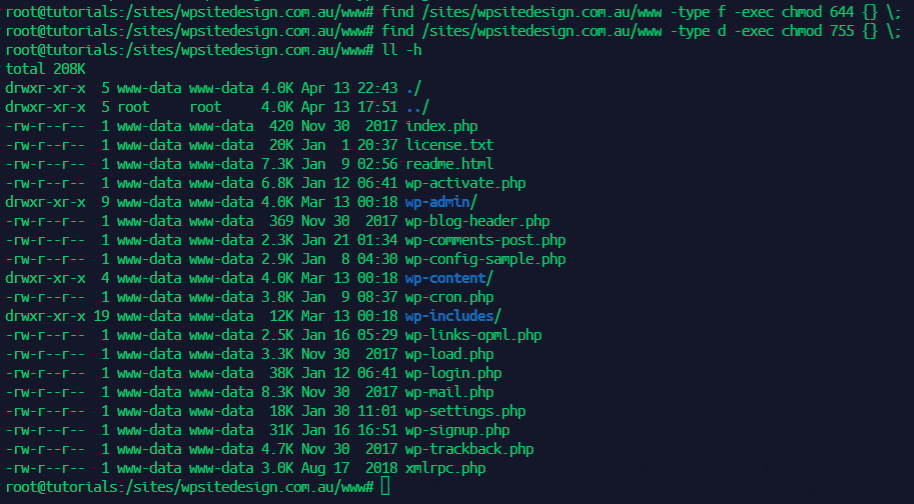
Change ownership of the files and folders in the directory and make sure file permissions are correct.
sudo chown -R www-data:www-data /sites/wpsitedesign.com.au/www
find /sites/wpsitedesign.com.au/www -type f -exec chmod 644 {} \;
find /sites/wpsitedesign.com.au/www -type d -exec chmod 755 {} \;
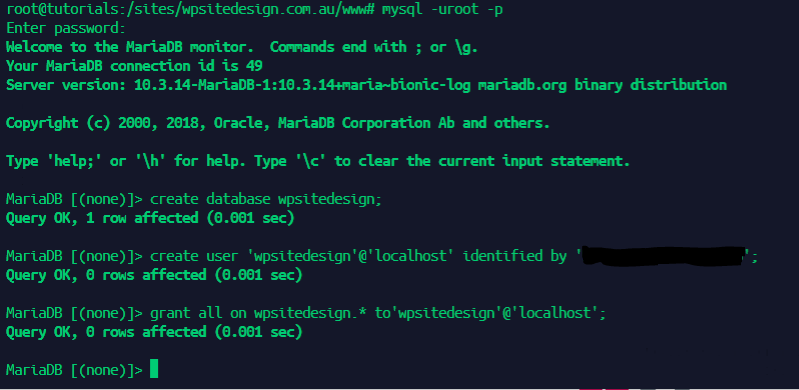
Now we need to create a database before proceeding to the browser based portion of the setup.
2. Create Database & User for use with WordPress
We need to create a database, a username and password, as well as assign privileges to that database for that user to use in the final stage of the WordPress setup. You need a mysql user with privileges to create databases.
First, log into mysql.
mysql -uUSERNAME -p
You will then be prompted for the user password.
Once logged in, enter the following commands, replacing DBNAME with your database name, DBUSER with your database username and DBPASS with your chosen database password.
create database DBNAME;
create user 'DBUSER'@'localhost' identified by 'DBPASS';
grant all on DBNAME.* to 'DBUSER'@'localhost';
exit;
Record these details somewhere safe, you will need them.
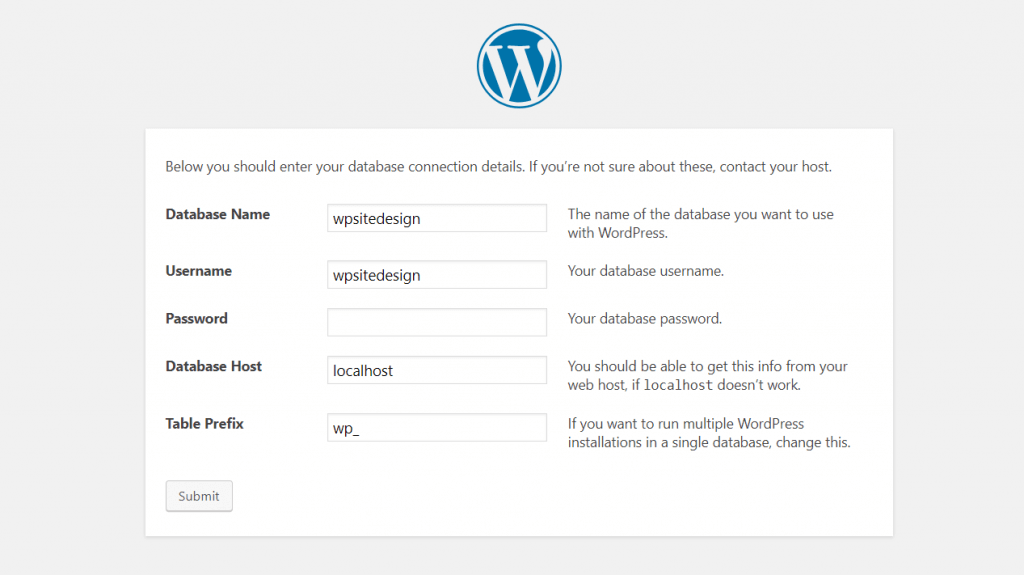
3. Complete the browser based portion of the installation to complete.
Navigate to your websites URL to complete the installation.
First Select a language.
Next, enter the credentials for the database and user we created in the previous step.
Finally, set your site title and WordPress admin credentials and you are done.
You can now log into your WordPress admin dahboard from the usual place at yourdomain.ext/wp-admin


Leave a Reply