How to Install CSF (Configserver Firewall) on Ubuntu 16.04 or 18.04
It is important to have a software firewall in place on your hosting service, I recommend that you install CSF (Configserver Firewall) on your server over the default. Installation is easy and it generally whitelists the IP address it was installed from during setup, therefore you wont have to set up any whitelist rules to stop yourself from being blocked. Incorrect login credential access and other unwanted activity is detected and automatically blocked by the firewall by adding offending IP addresses to the deny file, consequently protecting your server from malicious access.
CSF is a great lightweight and powerful choice of software firewall for your server and is highly customisable (although you will need command line knowledge to really change a lot). It is also available on multiple Linux operating systems and server setups.
1. Installing CSF from Source
To install and activate Configserver Firewall, first of all you need to logged in with terminal access as root or a sudo user and then run the following commands to install CSF.
cd /usr/src
sudo wget https://download.configserver.com/csf.tgz
sudo tar -xzf csf.tgz
cd csf
sudo sh install.sh
2. Check Iptables modules
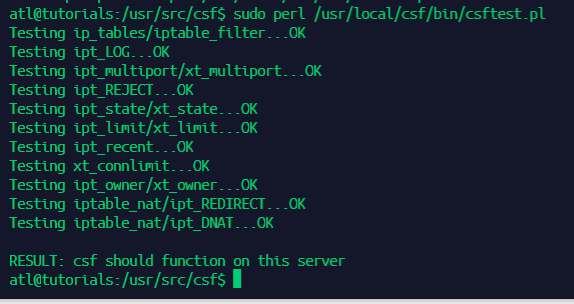
CSF is now installed, furthermore, you will need to check that you have the iptables modules that you need, as long as no fatal errors are thrown from the following command it should be all fine.
sudo perl /usr/local/csf/bin/csftest.pl
3. Disable Testing Mode
By default, CSF/LFD are set to testing mode upon installation, as a result, it will not actively be protecting your server yet, we will need to disable testing mode in order to use the firewall in a production environment.
Run sudo nano /etc/csf/csf.conf
Search for and update the line that reads TESTING = “1” to instead read TESTING = “0”
4. Reload Config & Restart
Reload your CSF configuration and restart it by issuing the following commands.
sudo csf -x && sudo csf -e && sudo systemctl restart csf
CONGRATULATIONS!! Configserver Firewall is now installed and running on your server.
The permanant whitelist is kept at /etc/csf/csf.allow, the permanent block list is kept at /etc/csf/csf.deny.
Some useful commands to note are listed below;
csf -a IPADDRESS – Adds an IP address to the white list.
csf -d IPADDRES – Adds an IP address to the block list
csf -ar IPADDRESS – Removes an entry from the white list.
csf -dr IPADDRESS – Removes an entry from the block list.
csf -x – Stops CSF & LFD
csf -e – Loads and starts CSF & LFD
Next, learn to install phpMyadmin on Ubuntu 18 and configure for Nginx

Leave a Reply