PhpMyAdmin is a web browser based user interface for interacting with SQL databases. It can be used to perform data updates, import and export data as well as viewing data in a much easier to browse UI than a command line interface without the need for SQL command knowledge.
1. Install phpMyAdmin
Because phpMyAdnmin is included in the Ubuntu 18.04 software repository, it can be installed easily using the following command.
sudo apt update && sudo apt install phpmyadmin
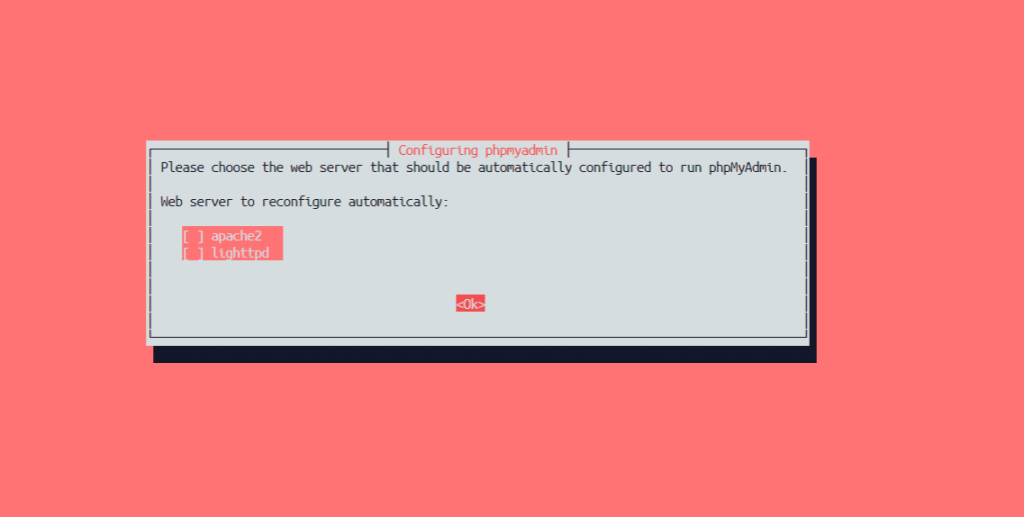
After the initial package installation, you will be prompted to choose which web server to automatically configure, Nginx is not in this list so just tab to okay and skip this. We will manually configure to Nginx run phpMyAdmin later.
The installation will then continue.
2. Configure phpMyAdmin.
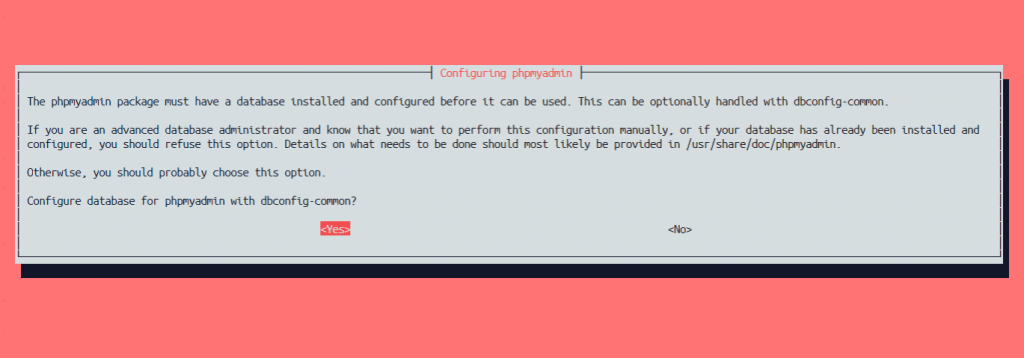
You will now be asked if you want to automatically configure a database for phpMyAdmin using dbconfic-common. I recommend that you do this unless you are an advanced user and would prefer to configure your database manually.
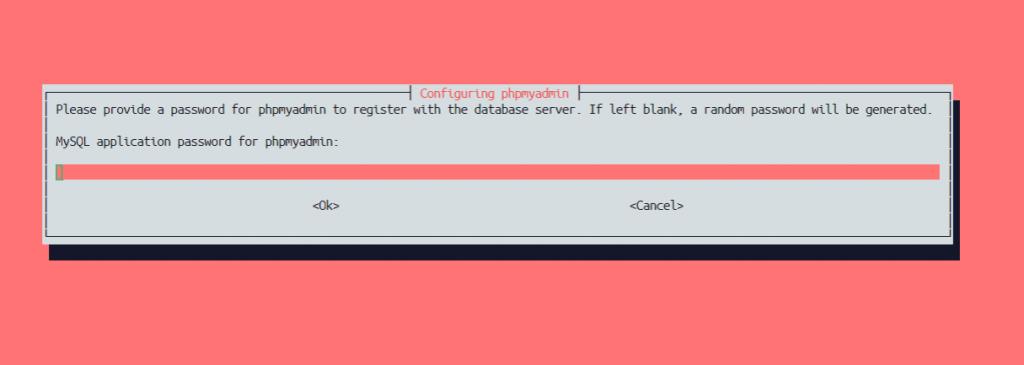
You will next be asked to set a password for phpMyAdmin to use with the database server, you can leave this blank if you wish, and a random password will be generated for it. Or you can set it manually. Keep your phpMyAdmin password somewhere safe in case you need it.
Important Troubleshooting Note
If you get an error on the next screen that reads; “mysql said: ERROR 1044 (42000) at line 1: Access denied for user ‘debian-sys-maint’@’localhost’ to database ‘phpmyadmin’ . Your options are:…”
Open a second terminal connection to the server, connect to mysql as root and run the following commands.
create database phpmyadmin;
grant all on phpmyadmin.* to 'debian-sys-maint'@'localhost';
Then select “retry”.
On the next page you will be asked to select how phpMyAdmin connects to the MySQL server, for best performance, select “Unix Socket”. If phpMyAdmin is connecting to a remote server, select TCP/IP.

You will then be asked to select a name for the database that phpMyAdmin will use, if you created the database manually, then enter the same name you entered earlier.
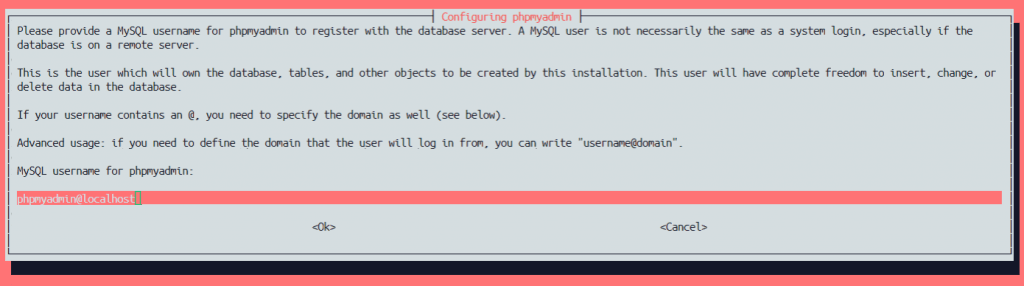
Next you will be asked to configure a user, by default this is phpmyadmin@localhost, but you can change it if you want.
set a password for this user and confirm, the setup will now complete.
3. Configure nginx site block.
We are going to configure phpMyAdmin to listen for a subdirectory on any domain that is configured on the service and direct traffic to the login page accordingly.
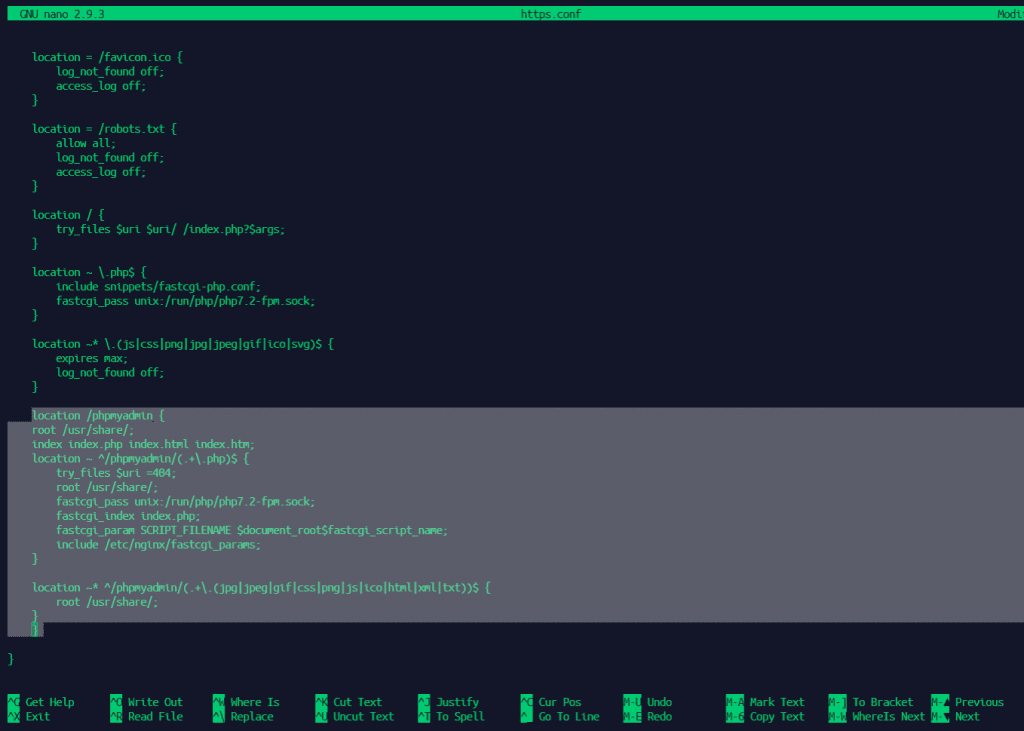
You will need to add the following code to your /etc/nginx/sites-enabled/default file as well as any other sites that have been configured.
If you are using the custom site block from my article, I recommend adding it to both the http.conf and https.conf files for each site in your site block as well as the default.
|
1
2
3
4
5
6
7
8
9
10
11
12
13
14
15
16
|
location /phpmyadmin { root /usr/share/; index index.php index.html index.htm; location ~ ^/phpmyadmin/(.+\.php)$ { try_files $uri =404; root /usr/share/; fastcgi_pass unix:/run/php/php7.2-fpm.sock; fastcgi_index index.php; fastcgi_param SCRIPT_FILENAME $document_root$fastcgi_script_name; include /etc/nginx/fastcgi_params; } location ~* ^/phpmyadmin/(.+\.(jpg|jpeg|gif|css|png|js|ico|html|xml|txt))$ { root /usr/share/; }} |
After editing these files, test your Nginx configuration with sudo nginx -t and only reload or restart if everything comes back OK.
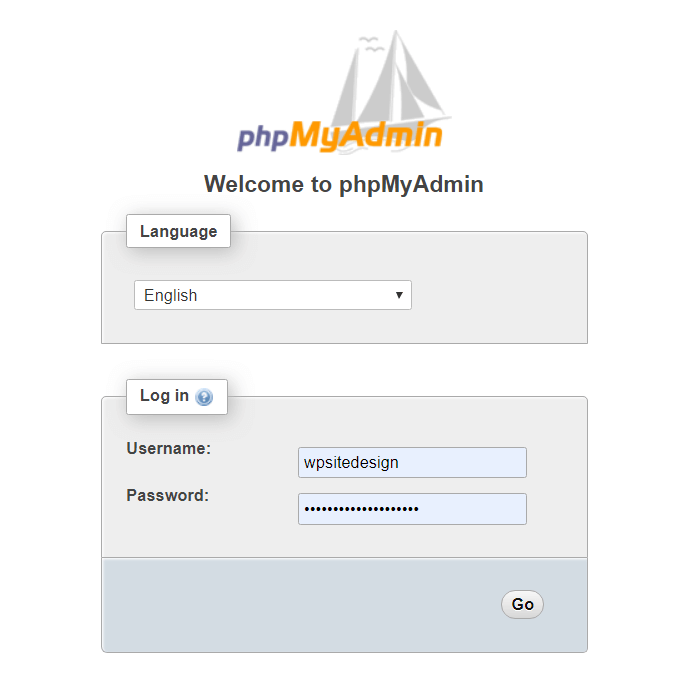
After reloading or restarting Nginx, you should now be able to access phpMyAdmin by navigating either to
http://{YOURSERVERIPADDRESS}/phpmyadmin
OR
http://{YOURDOMAINNAME}/phpmyadmin.
For more information on how to use these tools, please refer to the official documentation which can be found here.

Leave a Reply