Setting up a web server is relatively simple with Ubuntu and can be done in a number of ways. This article is going to walk you through setting up a basic web server on Ubuntu 18.04 (Works fine on 16.04 also) using Nginx, MariaDB and PHP 7.2.
Before we begin this tutorial, I am assuming the following;
- You are running a fresh install of Ubuntu 18.04 or 16.04.
- You have root or sudo access.
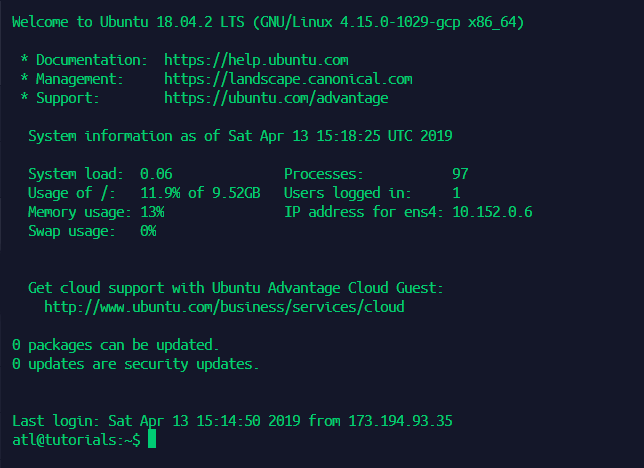
1. Log into your Ubuntu instance with your sudo or root user.
You should see a screen similar the screenshot shown.
2. Install Nginx
Nginx is available to install from Ubuntu’s default repositories, for this reason we are able to use the apt packagin system to install it.
Assuming this is a fresh install that has not interacted with apt during this session, it is handy to also update the local package index to make sure that you have access to the most recent package listings.
Run the following;
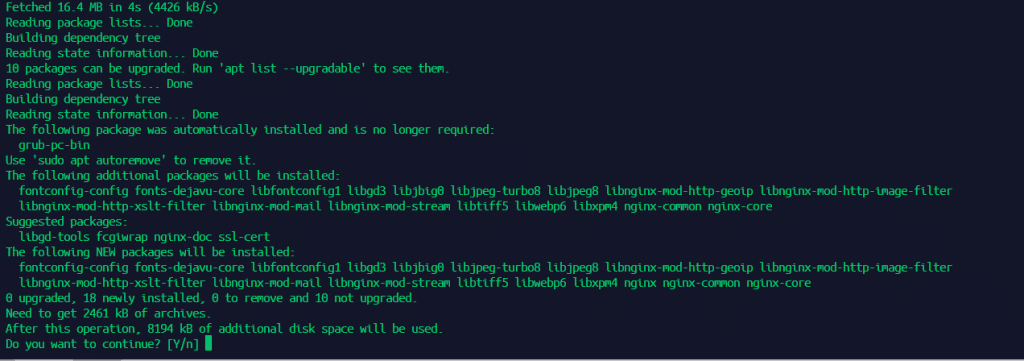
sudo apt update && sudo apt install nginx
This will update your local package index and then prepare to install Nginx. You will also need to confirm the installation to proceed, enter y and then {enter} to proceed.
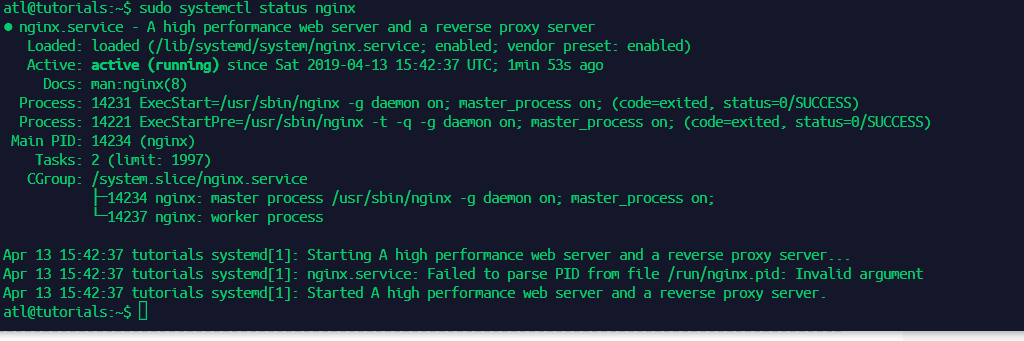
Once the installation of Nginx has completed, enter the following to see the running status of Nginx;
sudo systemctl status nginx
You should see something like the screenshot below.
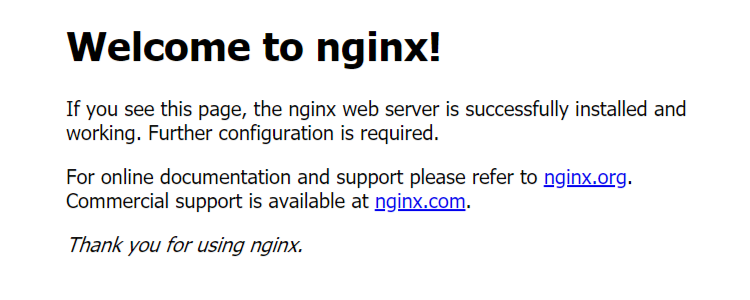
If is well up to this point, you should be able to enter your servers IP address into a web browser and you will get the following page.
3. Install PHP
For the sake of this tutorial, we will be installing PHP version 7.2, as well a couple of common extensions. Assuming this is a fresh install once again and the first time you have used apt-get during this session, we will also update the local package index for apt-get.
Run the following;
sudo apt-get update && sudo apt-get install php-fpm php-curl php-xml php-zip php-mysql
Confirm with y and the installation will begin.
Enter sudo nano /etc/nginx/sites-enabled/default and then add the following lines as shown to your site configuration.
location ~ \.php$ {
                include snippets/fastcgi-php.conf;
                fastcgi_pass unix:/var/run/php/php7.2-fpm.sock;
        }
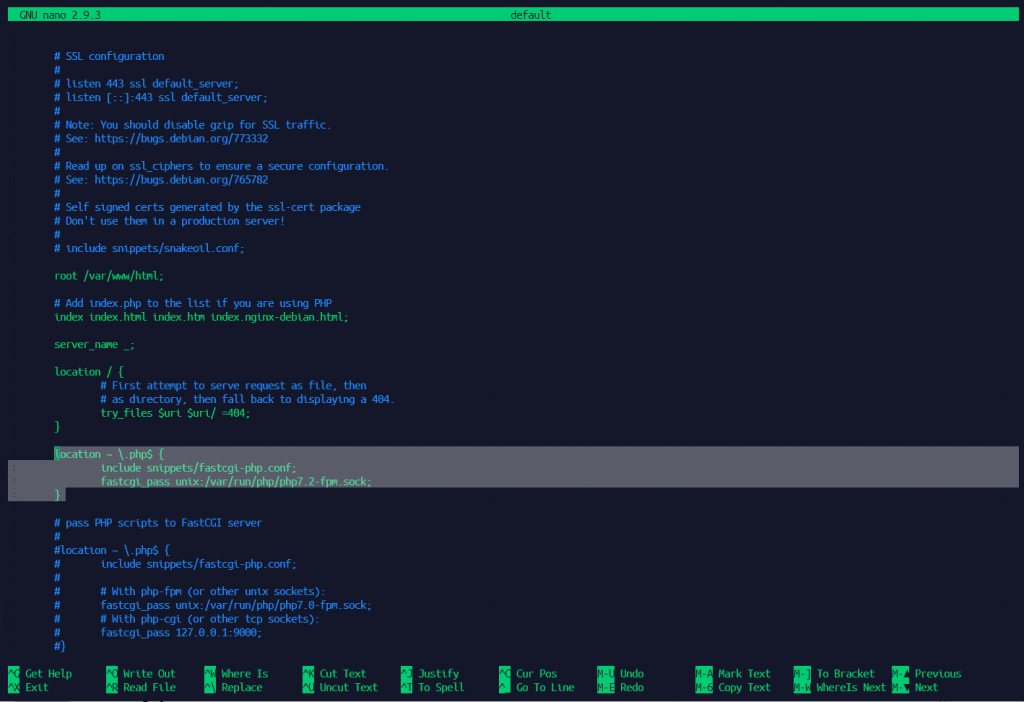
Enter sudo nginx -t to check your nginx configuration is okay. If everything is okay you should see the following.

If everything is okay, reload Nginx with the following;
sudo systemctl reload nginx
4. Install MariaDB.
Next we are going to install MariaDB for our mysql client, I personally find that MariaDB performs better than standard mysql server.
First, install software-properties-common in case its missing from your system.
sudo apt-get install software-properties-common
Next, add the repository key to the system.
sudo apt-key adv --recv-keys --keyserver hkp://keyserver.ubuntu.com:80 0xF1656F24C74CD1D8
Next, add the MariaDB repository URL to the server.
sudo add-apt-repository 'deb [arch=amd64] http://mirror.zol.co.zw/mariadb/repo/10.3/ubuntu bionic main'
Next, its time to install MariaDB client and server.
sudo apt install mariadb-server mariadb-client
Enter y to confirm installation.
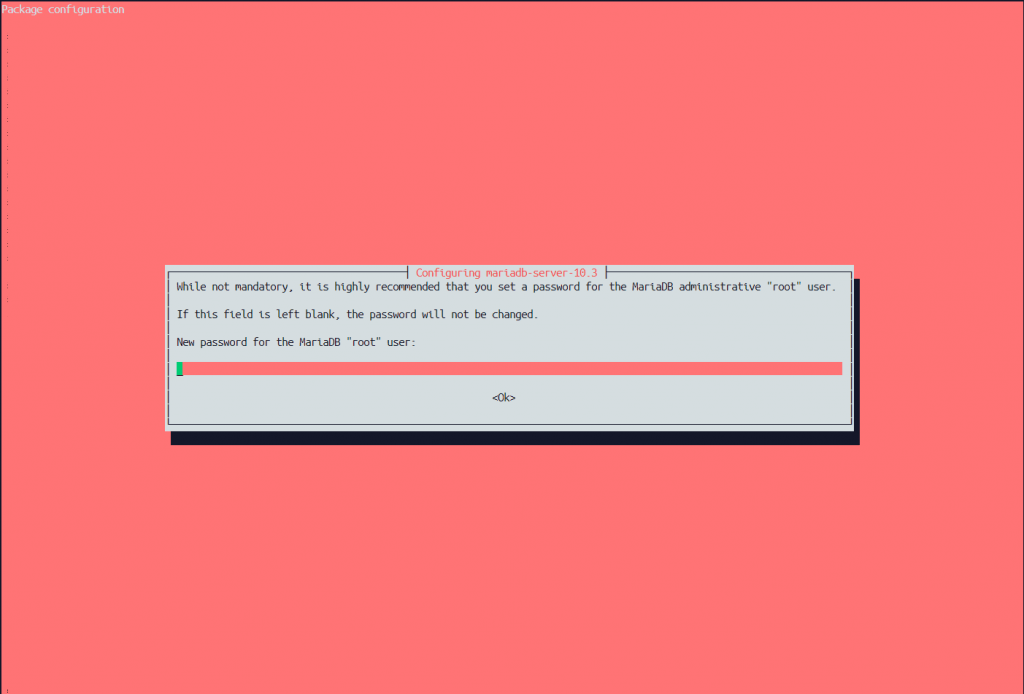
Once installed, you will be greeted with the following screen where you will be asked to select a root user password for MariaDB. Store this password somewhere safe if you do set it, you WILL need it.
Once the installation has completed you can access mysql using the following command, replacing ROOTPASSWORD with the password you set above.
mysql -uroot -pROOTPASSWORD
CONGRATULATIONS!!
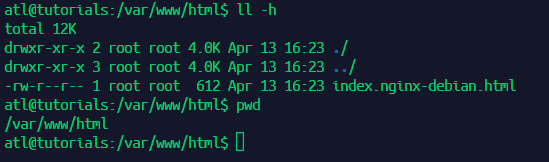
If you’ve made it this far successfully, then you now have a working web server running Nginx, MariaDB and PHP version 7.2. Your current default working site directory is /var/www/html
Next, learn how to set up CSF Firewall on your Ubuntu server.

Leave a Reply